Dashboard
A Dashboard puts several Views on one page as a board you keep watching. It suits metrics you have already asked about and confirmed are worth long-term attention: after that you just read the dashboard instead of re-asking each time.
Creating a dashboard
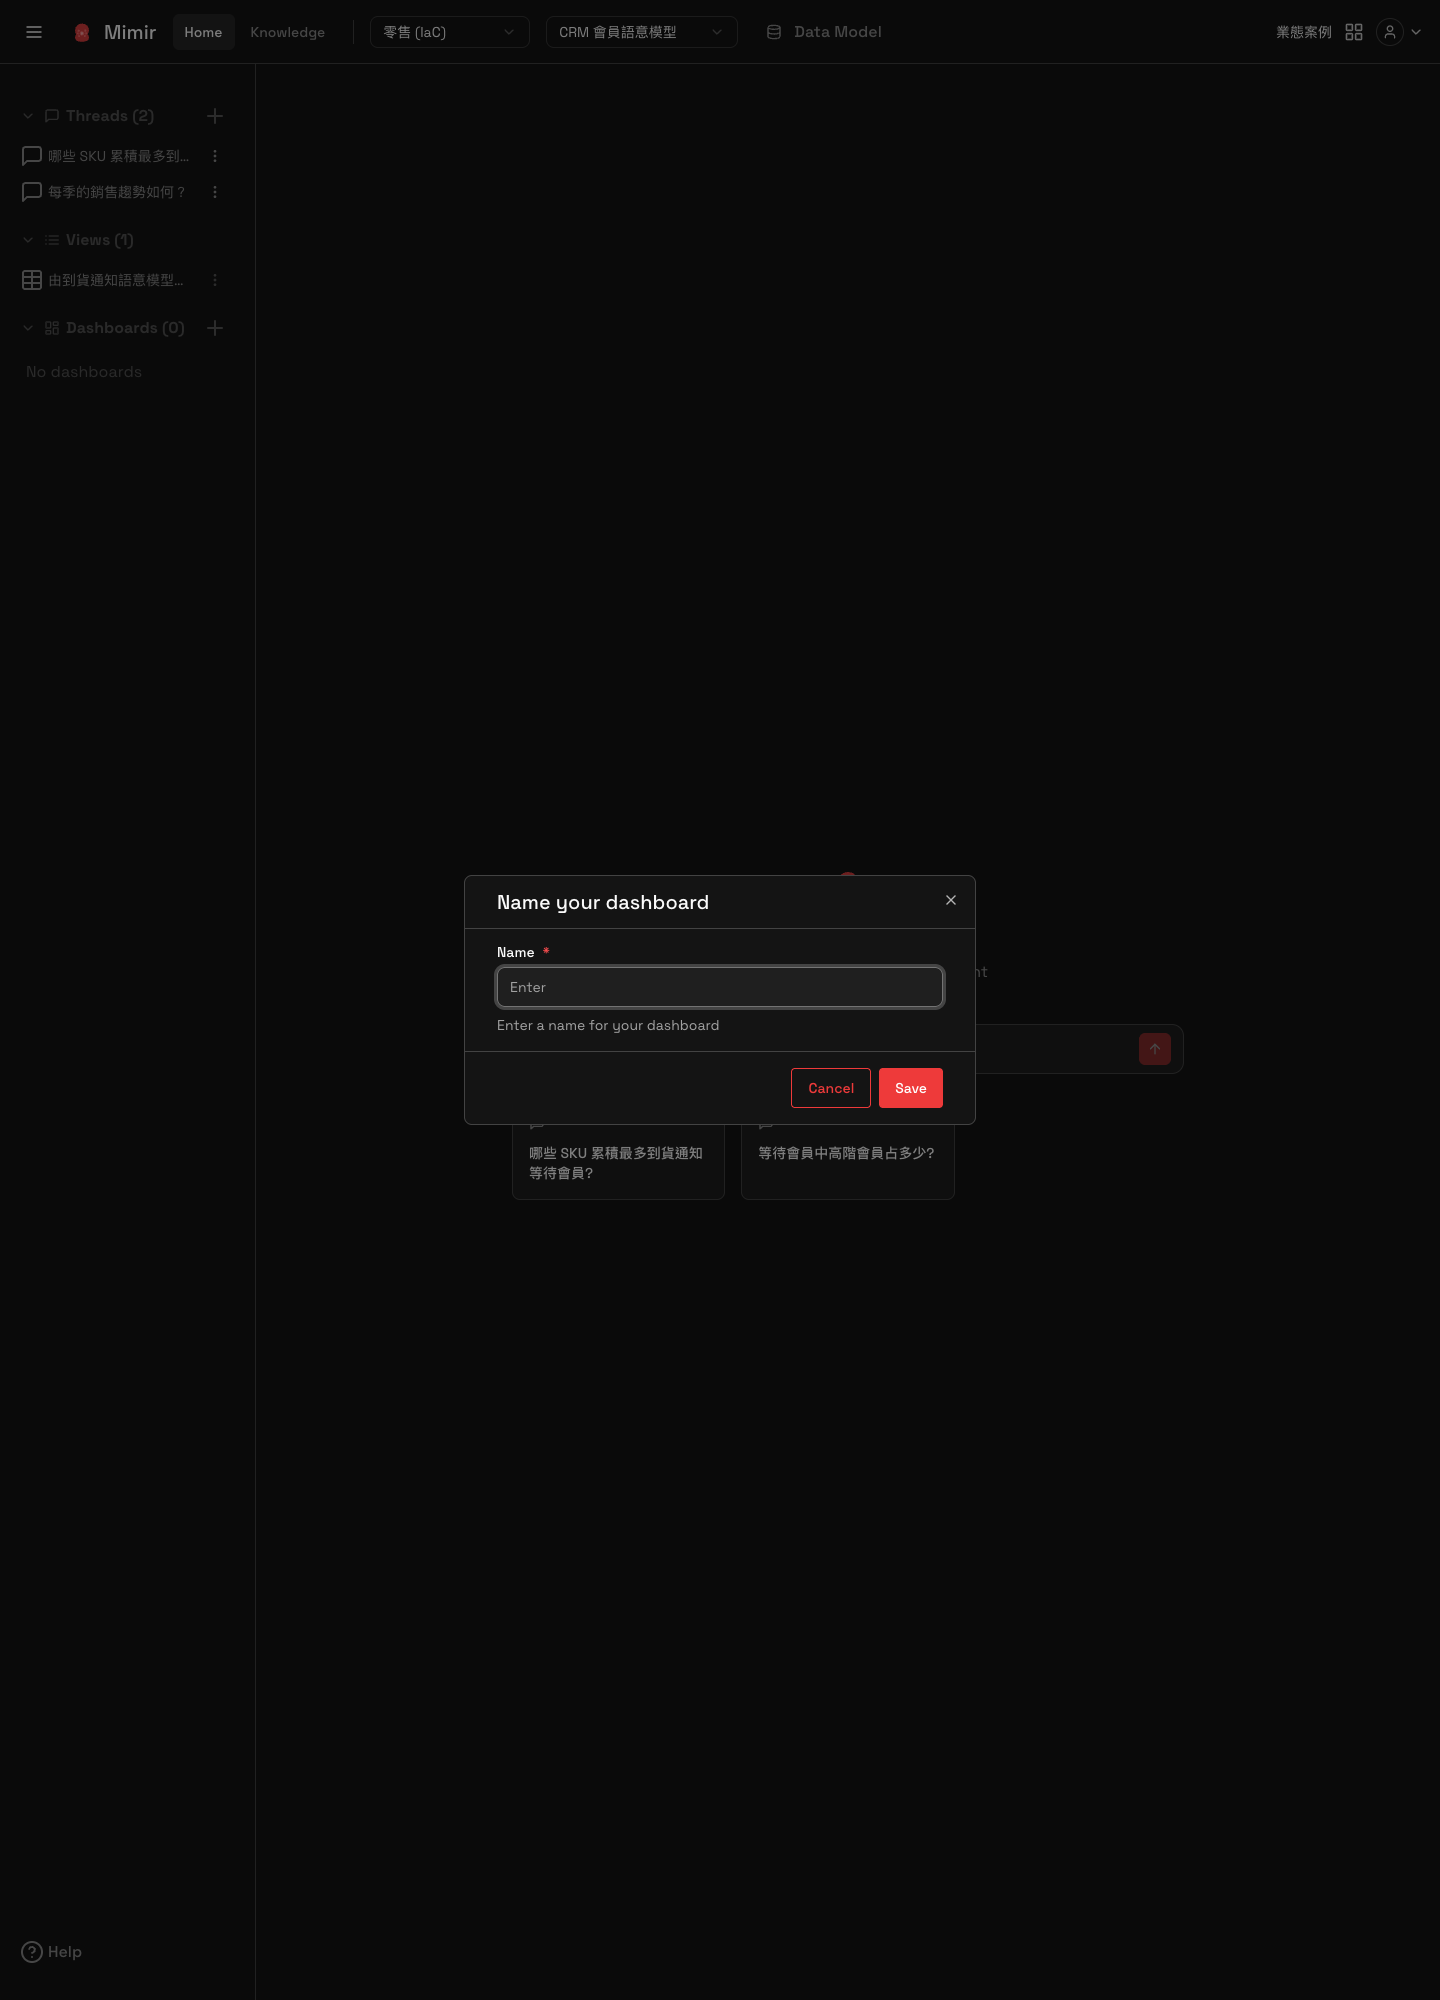
The plus sign to the right of the Dashboards section header in the sidebar opens the Name your dashboard dialog. It only needs a name. Press Save to create it.
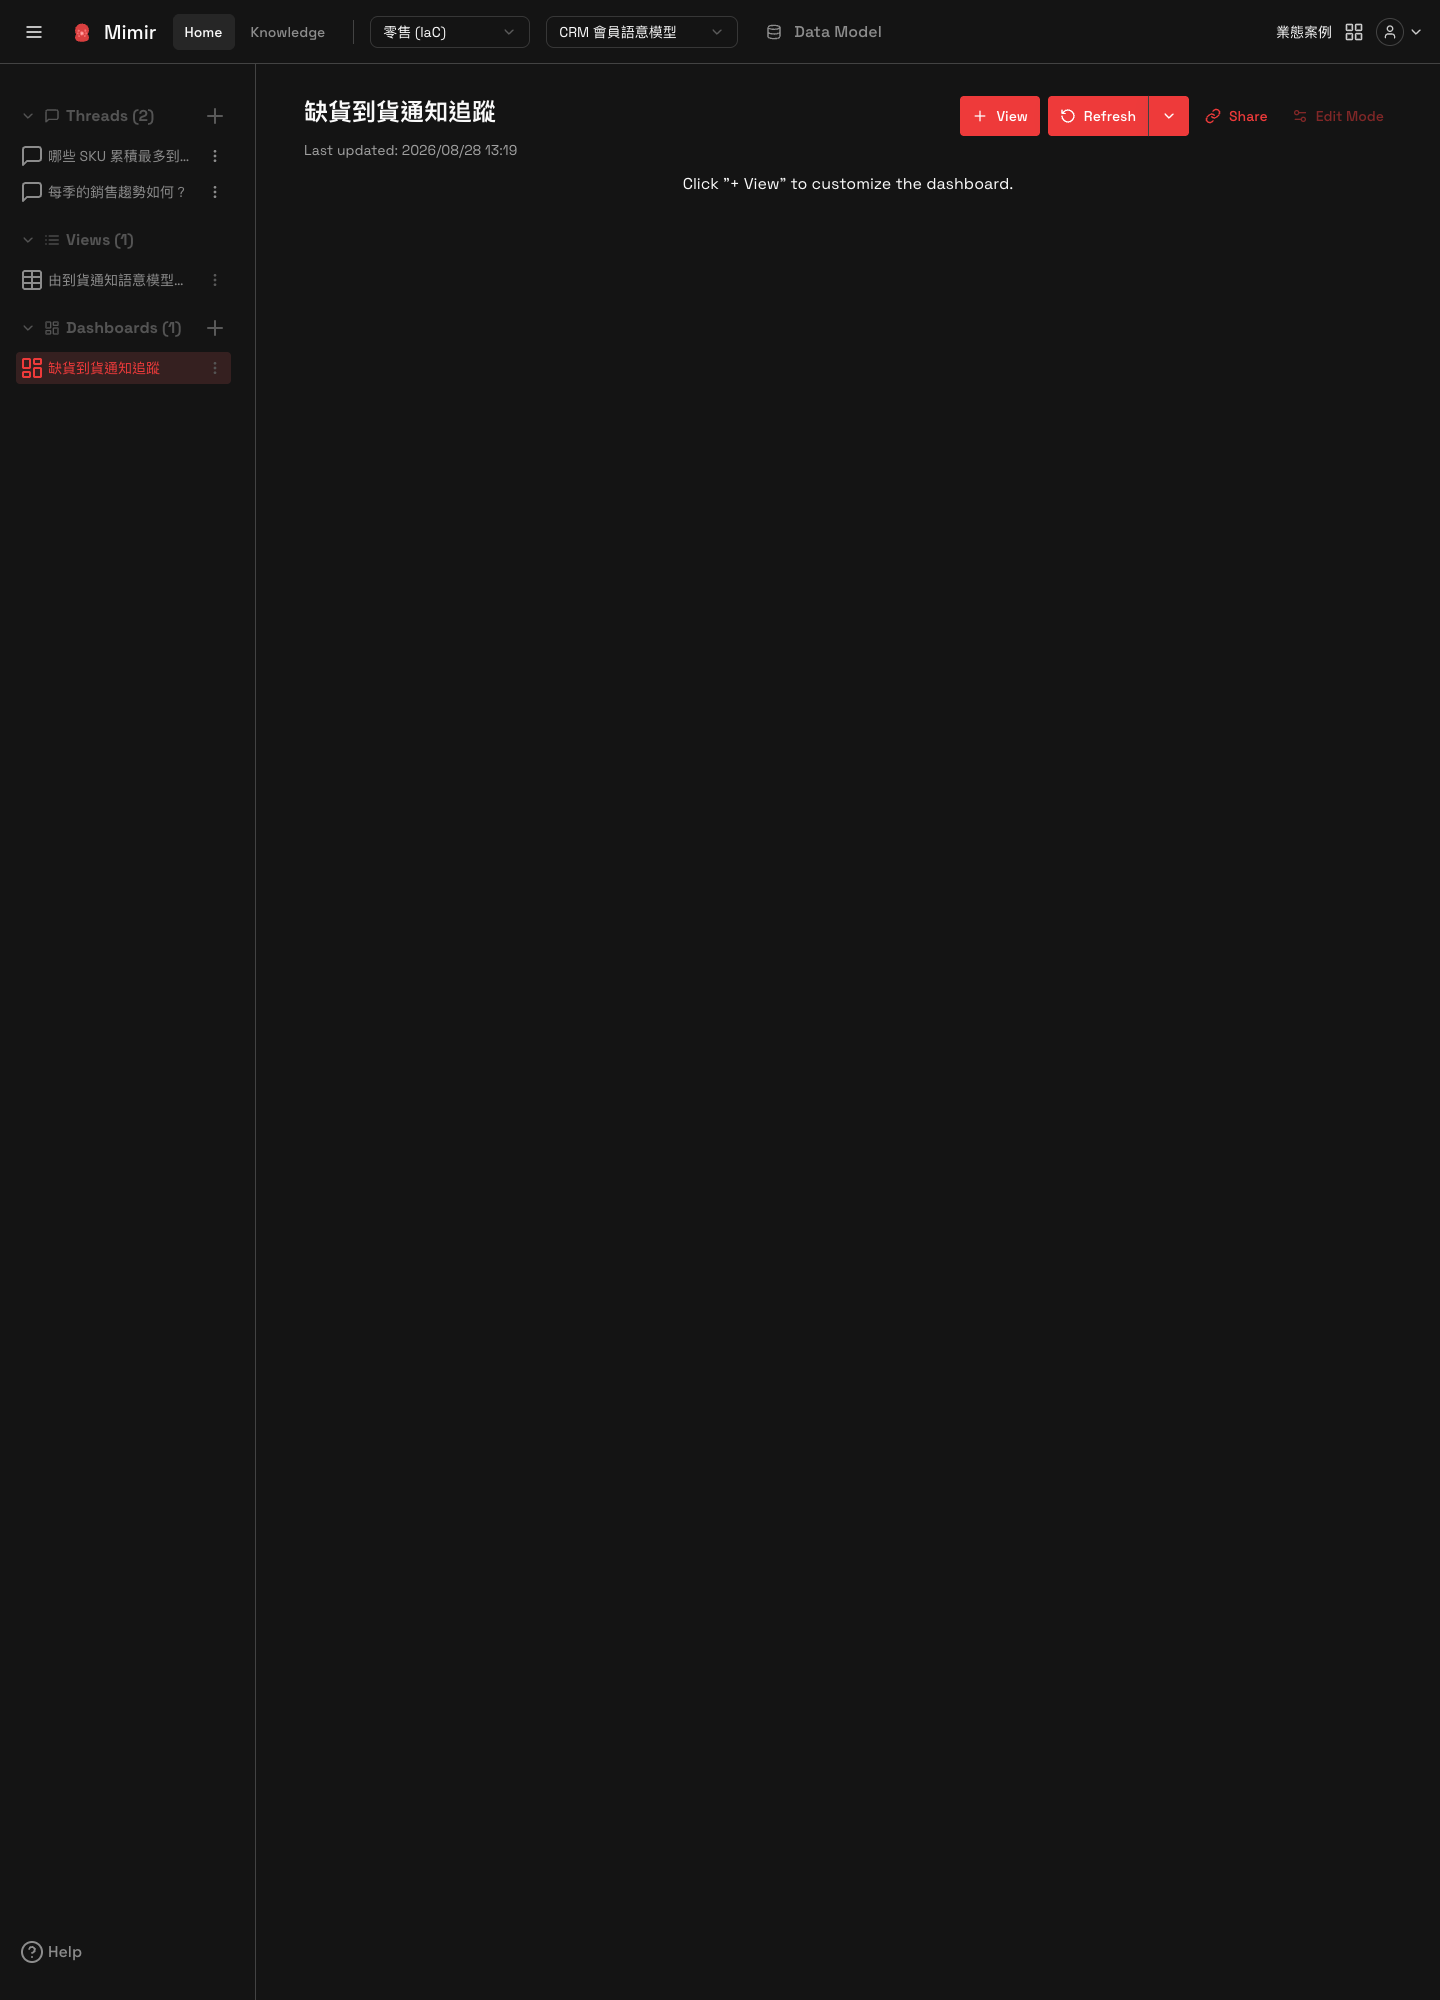
A newly created dashboard is empty, and the screen prompts you to click + View to start arranging content. Several actions sit at the top of the page:
- + View: add a chart.
- Refresh: refresh the data on the dashboard.
- Share: share this dashboard.
- Edit Mode: enter layout editing to adjust each chart's size and position.
The dashboard's last-updated time is shown at the same time.
Adding charts
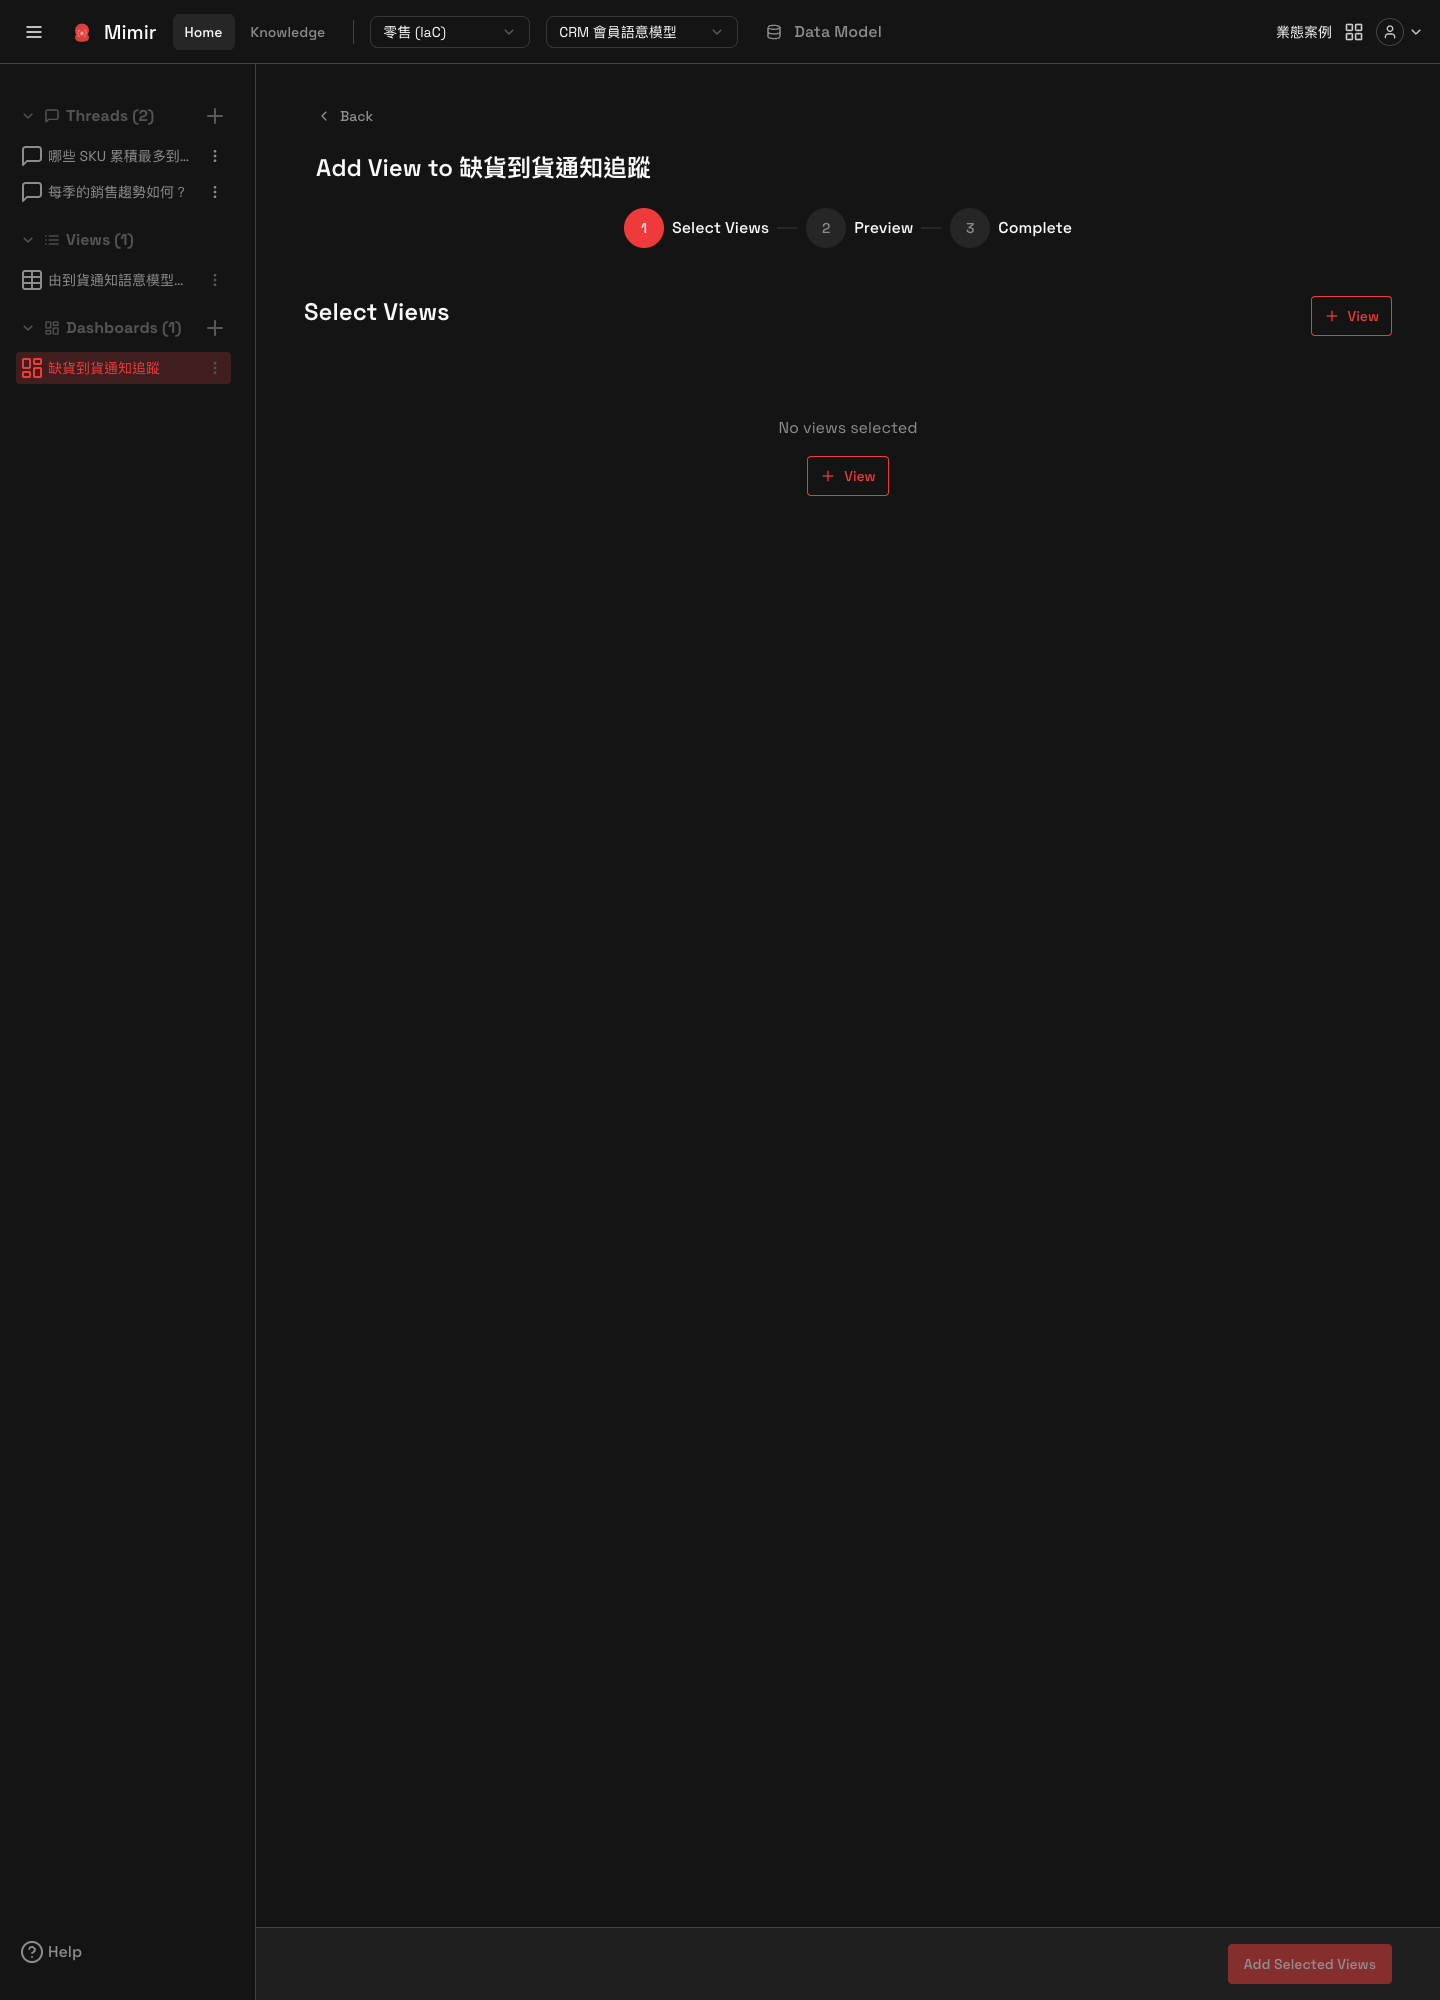
Clicking + View opens a three-step wizard, titled Add View to plus the current dashboard's name:
- Select Views: pick from the saved Views, several at once if you want. Until you pick one, the screen says nothing is selected. Press Add Selected Views to continue.
- Preview: preview the charts about to be added and check they are right. You can also go back a step to adjust.
- Complete: finish adding.
Besides adding in batches from the dashboard side, you can add from a single chart's side: click Add to Dashboard on a View's detail page, or click Pin to dashboard directly in the View data panel of a Thread answer.
Adjusting the layout
Click Edit Mode to enter layout editing, where each chart's size and placement can be adjusted into a layout that reads well. Leaving edit mode saves the new arrangement.
The menu on each Dashboard in the sidebar offers rename and delete.
Sharing a dashboard
Click Share to open the sharing dialog, which explains that you can invite specific people by email or share a public link.
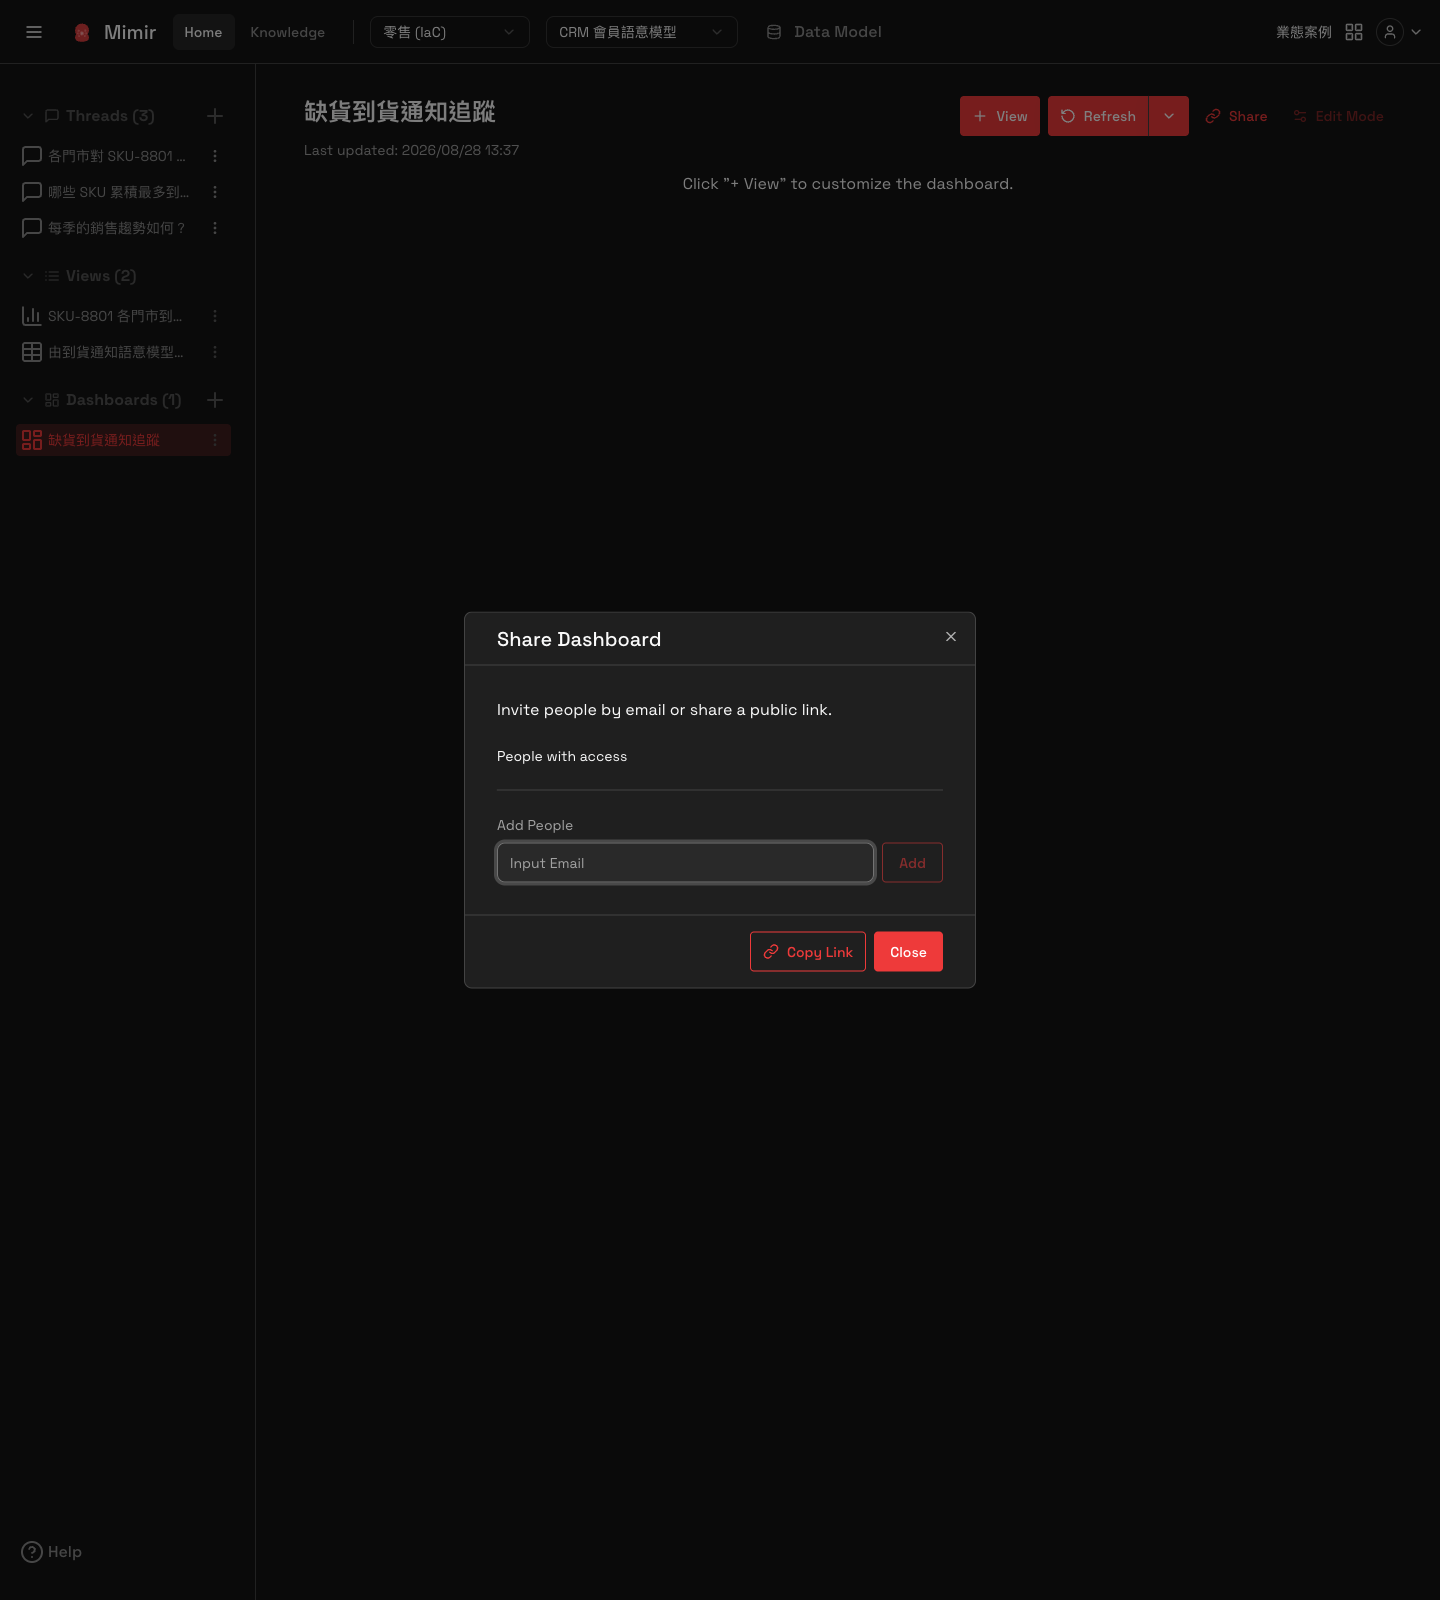
The dialog has two parts:
- People with access: who currently has access. Enter someone's email in the Add People field and press Add to include them. A malformed email is rejected. People on the list can also be removed, with a confirmation step first.
- Copy Link: copies a public link to share. A confirmation appears when the link has been copied.